
16 Февраль 2021
One of the essential welding procedures is the electrofusion welding.
The welding principle is the same in all the cases; the surfaces that need to be welded are heated to a certain temperature, such as to place the polyethylene in its molten state, after which the surfaces are pressed against each other with a certain force to allow soak and mixing, and therefore fusion. When the fusion procedure is carried out in accordance with the instructions of the producer of the materials, the result is that the welded area, in terms of mechanical resistance, becomes just as strong, if not stronger, than the non-welded parts. When the welded area returns to a near-ambient temperature, the joint can be moved without the risk of it being damaged.
Correct preparation of elements to be welded
The base procedure (UNI 10521) requires the following stages to be carried out:
a) Prepare the elements to be welded: all traces of mud, dust, grease or any other dirt on the outer and inner surfaces of the pipes in the area affected by welding. Cleaning must be carried out with water and then with clean rags free of line or soft paper towel dipped in a suitable liquid cleaner;
b) Cut the ends to be welded: they must be flat and perpendicular to their own axis; the cut must be made using dedicated pipe cutters or equipment that works with a fixed guide blade; the outer edge of the ends must be deburred to remove any fragments of polyethylene and possibly bevelled;
c) Mark the scraping zone: on at least one third of the circumference of the pipe using the marker. The length of scraping must be greater than the length of the coupling depth of the electro-fusion fitting by at least 10 mm on each end;
d) Remove the oxidised surface layer: On the entire outer surface of the elements to be welded the layer of surface oxidation must be removed using suitable scrapers, whether manual or mechanical .
e) Clean the scraped surfaces: after scraping, the ends affected by welding must be cleaned again with a suitable cleaner. Before moving on to the next stages, ensure that all the surfaces are completely dry. The cleaning operation with the cleaner must also be carried out on the inner surface of the electro-fusion fitting (which must only be extracted from its protective packaging just before positioning on the pipe);
f) Mark the insertion depth: using a marker, mark the insertion depth on at least one third of the circumference of both ends of the elements to be welded; the depth must be equal to half the length of the fitting;
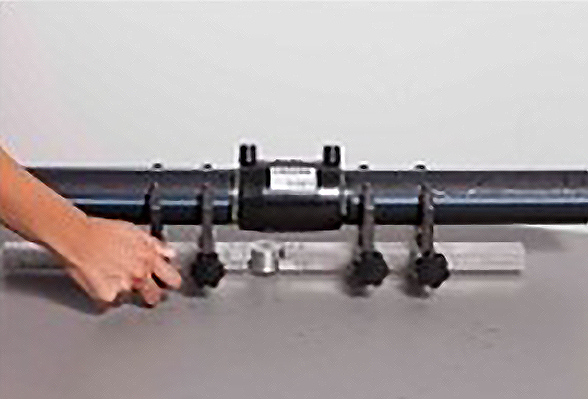
g) Insert the elements to be welded in the electro-fusion fitting: insertion must occur in such a way as to guarantee the coaxiality of the elements. No element must be forced into the fitting, if this is necessary check the diameter and out-of-roundness. The sign indicating the previously marked insertion depth on the elements must be respected.
Welding cycle
After completing the stages illustrated, proceed as follows:
a) Connect the terminals of the control unit (welder) to the electro-fusion fitting: check that the diameters of the connection terminals and fitting terminals correspond, transfer the welding parameters indicated in the bar code of the fitting to the control unit by means of the optical reader, and if everything coincides start the welding cycle;
b) Mark the joint: using the marker, write the hour and minutes shown on the clock and which represent the end of the fusion time; mark the joint with its name (or abbreviation/code) ;
c) Wait for the entire cooling time to pass.